How to Organize an Association in InPerson Platform?
When developing InPerson Platform, the application for associations, our goal is to make it as simple and intuitive to use as possible. Nevertheless, there is some initial setup needed to get your association's management up and running in InPerson Platform. In this blog post, I will show you how to do it in just a few easy steps and have a fully personalized experience in the app ready to go.
STEP ONE: Set Up Your Association's Basic Information
Adding a new association is very simple. On the home screen, click the "+ Add New Association" button and enter the association's name and address in the window that appears. Then click on the card that will subsequently appear on your home screen with the name of your association.
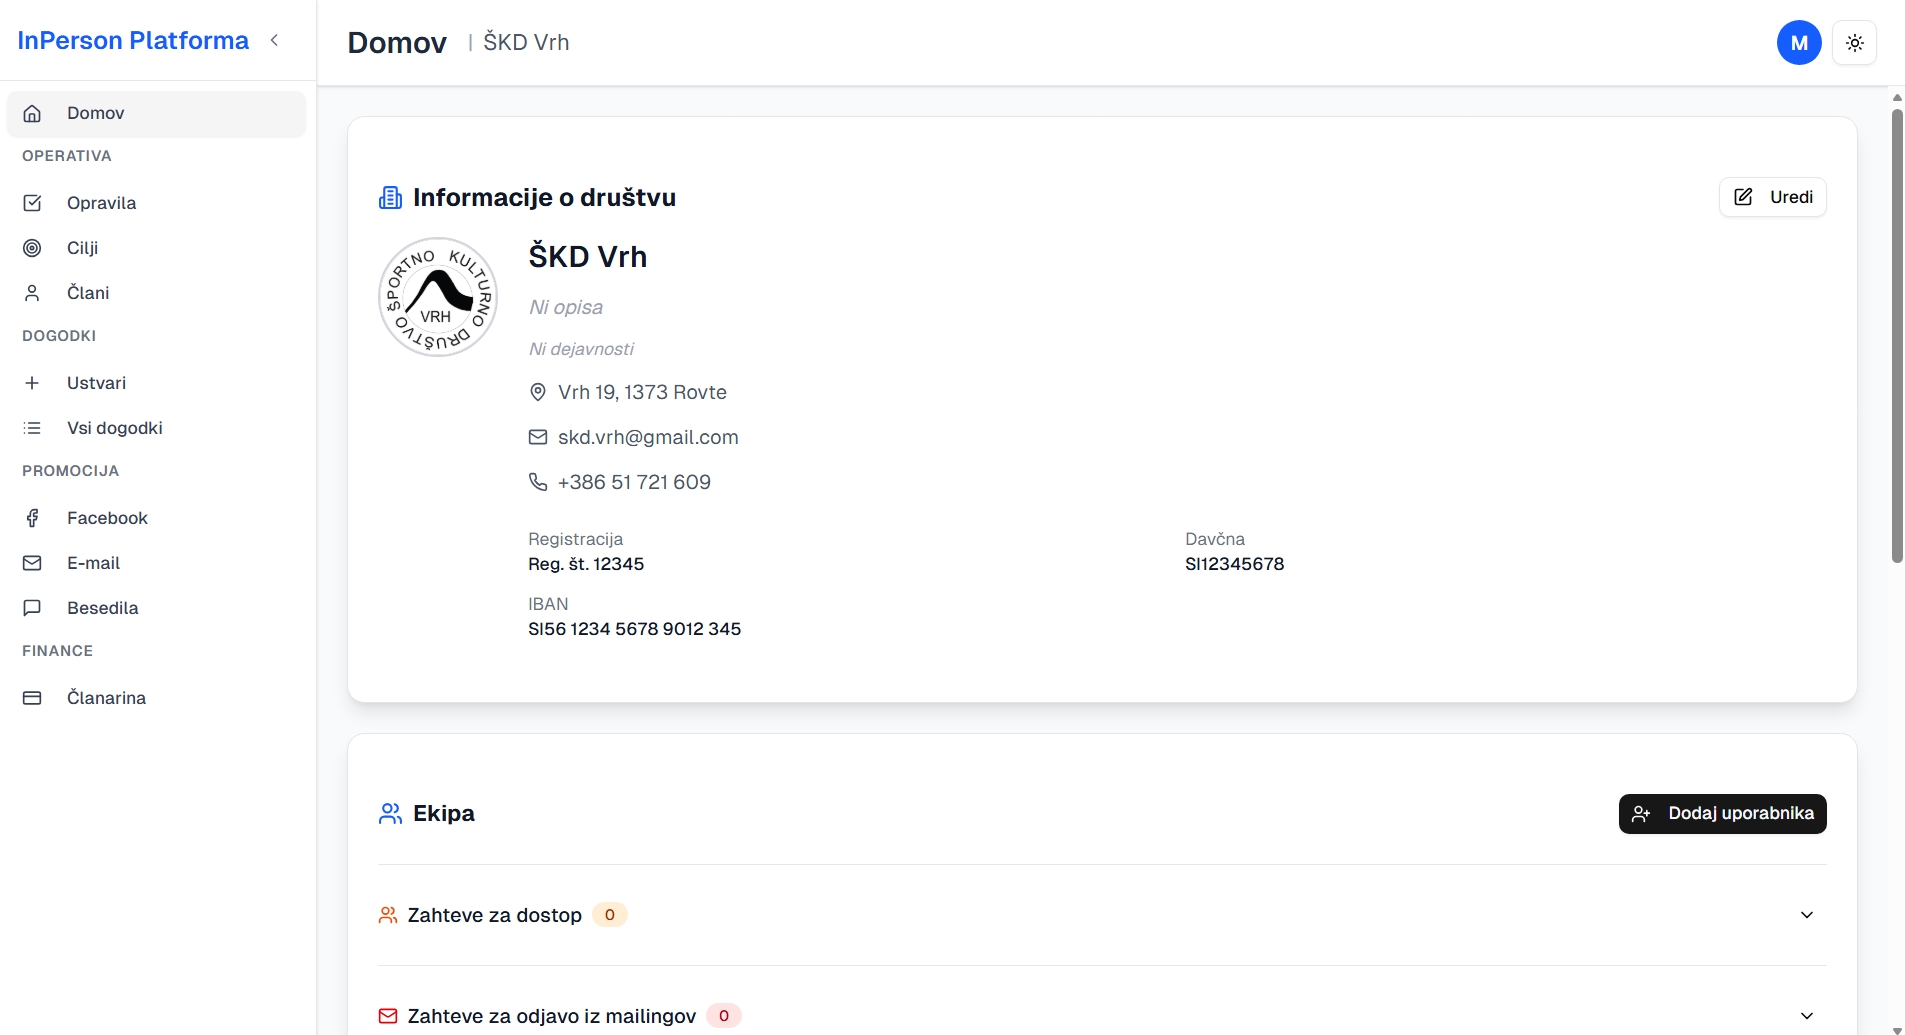
This will take you to the management panel, where you have a sidebar listing all the features the application offers, such as Home, Tasks, Goals, Members, Facebook, Email, and more.
By default, you will first land on the Home tab, where you can manage your association's details such as logo, description, activities, email, phone number, and more. We recommend filling in the basic information so that you have it all conveniently stored in one place.
We especially recommend uploading your logo, which will give your promotional materials generated within this application an extra touch of your brand identity.
STEP TWO: Upload Your Members' Excel Spreadsheet
If your members are currently stored in an Excel spreadsheet, you can easily upload them to InPerson Platform, which will create a beautifully formatted and flexible table. To do this, go to the Members tab and click the "Import from Excel" button.
Before importing, just make sure your Excel spreadsheet is organized so that the first row contains column headers and the values are listed beneath them. Columns should have expected names such as First Name, Last Name, Date of Birth, and so on.
The application will then allow you to map column names, so you can also rename the columns from your Excel file if the current names do not suit your needs. After that, the member import will take place and you will see a fully populated members table, where you can add new columns and rows, filter, edit individual values, and more.
STEP THREE: Add Other Team Members to Your Association
Next, go back to the Home sub-tab and add the rest of your team members to the association. Make sure your team members create accounts on InPerson Platform. The easiest way to do this is to send them the link via your shared communication channel, such as a Messenger group: https://www.inperson-platform.com.
Let them know they can sign in to the platform with a single click by selecting "Continue with Google".
Once your team members have created their accounts, you can easily add them on the Home sub-page by clicking the "Add User" button and searching for your members by name. Alternatively, your team members can also request access themselves by clicking the "Request Access" button on your association's card, and you simply approve them on the Home sub-page.
STEP FOUR: Set Up Your Email Address and Template
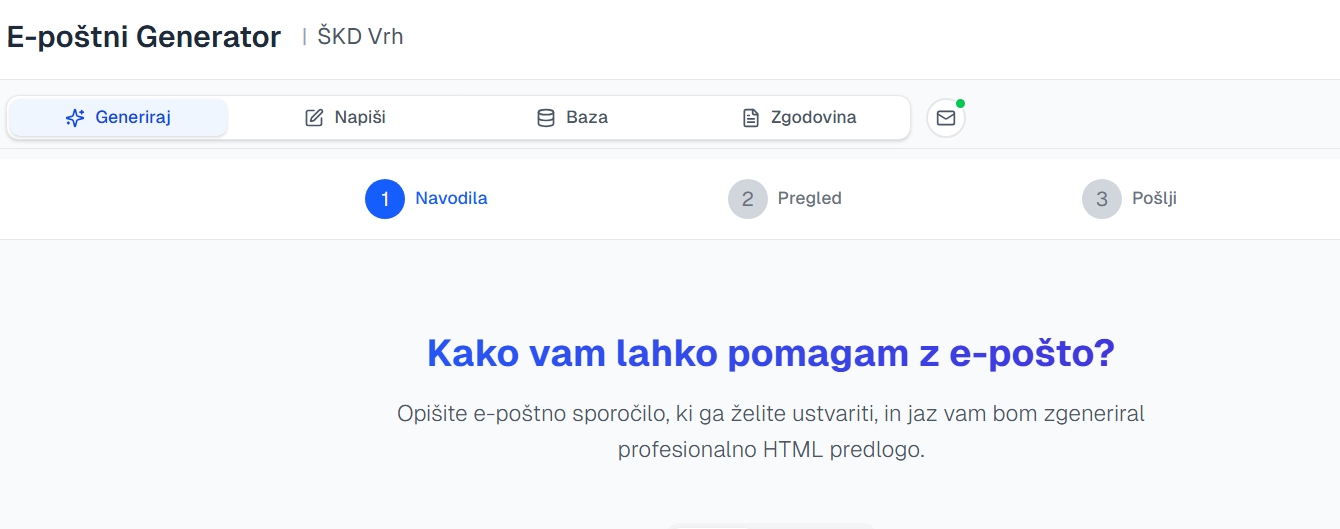
Now go to the Email tab and first click the button with the envelope icon to the right of the History button. Clicking it allows you to set up either a Gmail address to send from, or an email address from your own domain.
Gmail Setup
If you want to send from your Gmail address, you can set everything up entirely on your own. Enter your email in the "Gmail email" field, and in the "App Password" field, enter a password that is not your regular Gmail password. You can find it as follows:
- Go to your Google Account settings
- Navigate to the "Security" tab
- In that tab, click on "2-Step Verification"
- In the tab that opens, scroll down to "App passwords" and create a new app password
- Copy it and paste it into the "App Password" field in InPerson Platform
Custom Domain
If you would like to send from an email on your own domain, enter your details under "Custom Domain", including your phone number. We will call you to finalize the custom domain setup.
Choose a Template
Once your sending email is set up, create one or more templates for your email messages. In the Email tab, go to the Library sub-tab and click the "Choose Template" button.
This will open 50 templates for you to choose from. When you select a template, your personal information will be automatically filled in the email footer, and your logo will be added to the header.
Conclusion
By completing these four steps, you are ready to start using InPerson Platform with your team to its full potential. With these basic settings in place, you have laid a solid foundation for effectively managing your association in the digital age.
InPerson Platform will save you a tremendous amount of time on administration and communication with members going forward. Instead of scattered Excel spreadsheets, emails, and messages, you will have all your data and communication channels gathered in one place.
This means less confusion, more transparency, and above all, more time for what truly matters — growing your association and taking care of your members.
🚀 Get Started Today
Sign in to InPerson Platform and follow these steps. In less than 15 minutes, you will have a fully prepared environment for managing your association. Free of charge, no credit card required — just a Google account.